




A product can look polished in every mockup and still confuse the first real person who touches it.
That gap between “looks right” and “works right” is exactly what usability testing closes. This usability testing step by step guide, from the team at Brucira, walks through planning, running and analyzing a session, so feedback shapes the product before launch, not after.
What Is Usability Testing?
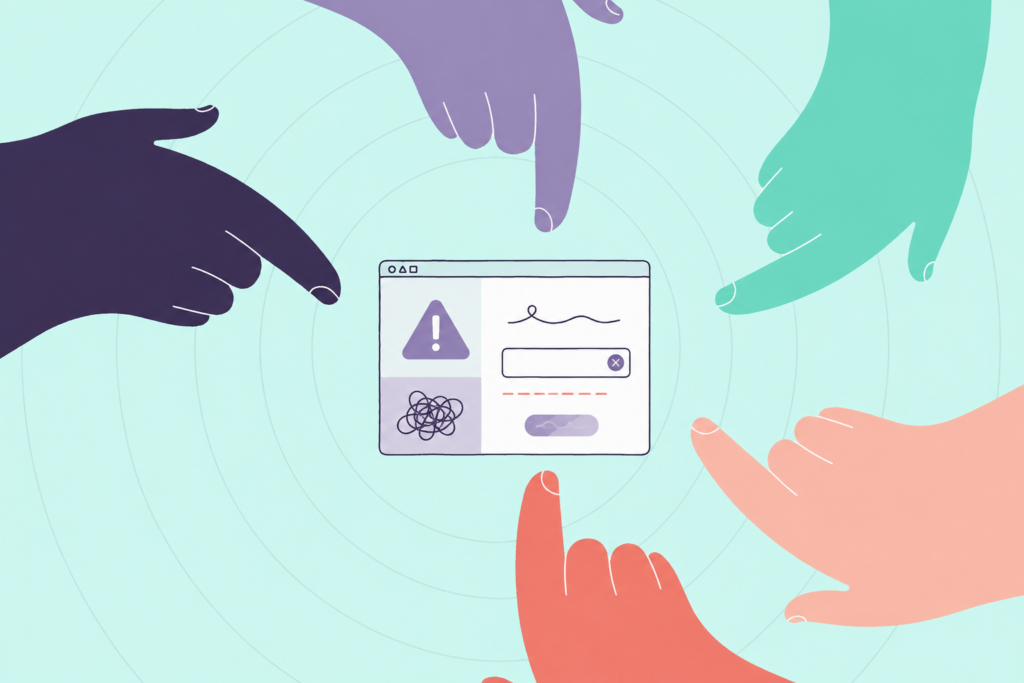
Usability testing is a research method where real users attempt real tasks on a product while an observer watches, listens and takes notes.
Unlike a survey or a stakeholder review, it exposes friction users don’t articulate on their own, where they hesitate, misread a label, or give up entirely. It’s one stage within a larger product design process, not a replacement for it, run early enough, it’s one of the cheapest ways to avoid a costly rebuild later.
1. Define Your Testing Goals and Success Metrics
Before writing a single task, decide what success means for this round.
Are you validating a new checkout flow, comparing two navigation patterns, or diagnosing a known drop-off point? Tie each goal to a metric, task completion rate, time on task, or error count, so results are comparable across participants instead of just anecdotal impressions.
2. Choose the Right Usability Testing Methods
Not every question needs the same setup.
Moderated sessions, where a facilitator guides the participant live, surface the why behind a struggle. Unmoderated remote testing scales faster and cheaper for simpler tasks. This mirrors how Brucira’s own prototyping and iterative testing process works, matching the method to the stage of the product, not defaulting to the most elaborate study possible.
How Brucira Diagnosed and Fixed Evoshare’s Activation Problem
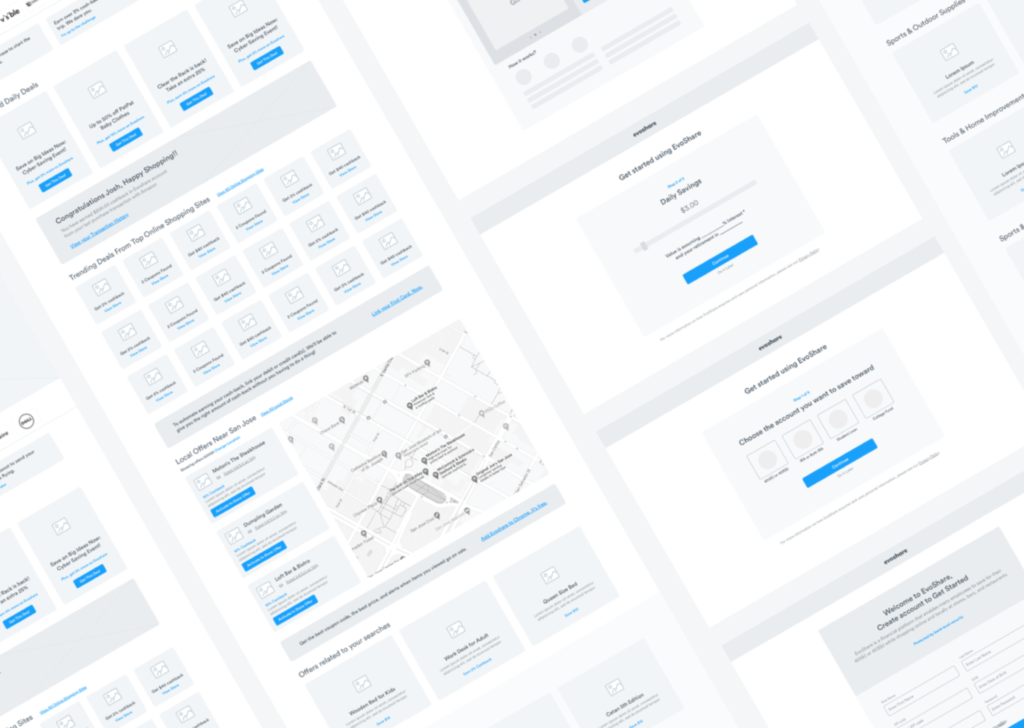
Evoshare, a fintech retirement-savings platform, was seeing a poor activation rate after users first landed on the site.
Rather than guessing at a redesign, Brucira worked backward from where users were actually getting stuck, then rebuilt the site structure and interface around that friction. The lesson mirrors usability testing itself: fix what you observe, not what you assume is wrong.
3. Recruit Representative Participants
Testing the wrong audience produces confident, useless data.
Recruit five to eight participants who match your actual user base in role, familiarity with the product category, and context of use. Screen out colleagues and anyone who already knows the product, familiarity hides the friction you’re trying to find.
4. Write a Realistic Test Script and Tasks
A good usability testing step by step guide always starts scripting from real user goals, not feature lists.
Phrase tasks as outcomes (“find a flight under $300 for next weekend”), not instructions (“click the filter icon”). Instructional phrasing leads the participant and hides exactly the confusion you’re testing for.
5. Functional Testing vs Usability Testing: Know the Difference
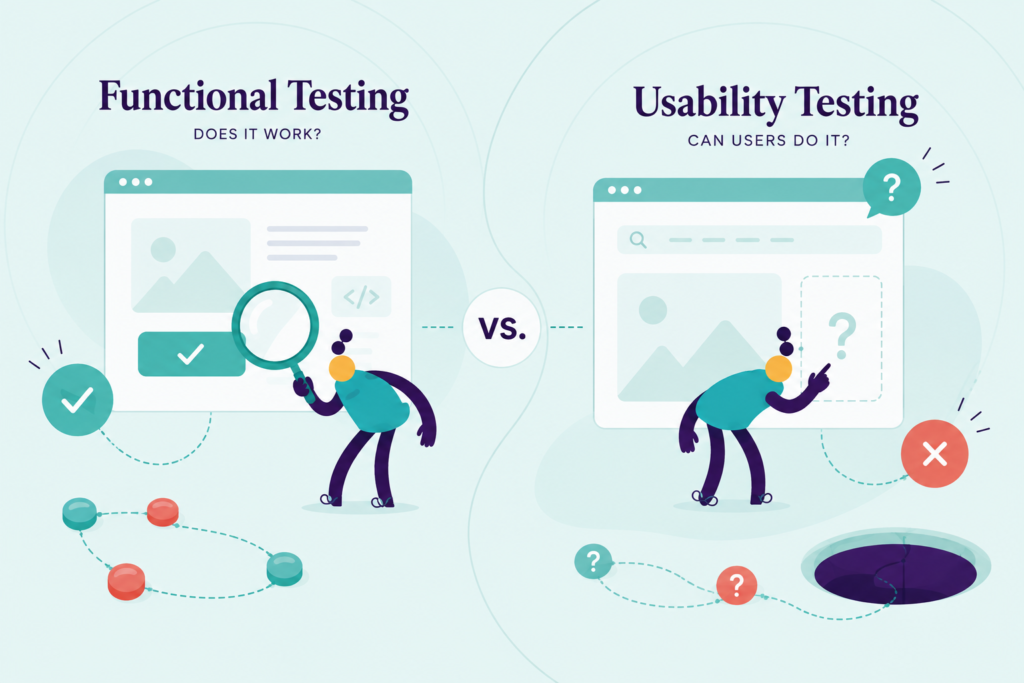
These two get confused often, but they answer different questions.
Functional testing vs usability testing comes down to this: functional testing confirms a feature works as built, does the button submit the form? Usability testing asks whether a real person can find, understand and complete that task without help. A feature can pass every functional test and still fail usability testing if nobody can locate it.
6. Run the Test Session
Stay quiet more than you think you should.
Let silences sit, a hesitation is data. Avoid leading language like “do you see the button here?” and instead ask what the participant is thinking as they work through the task. Record the session (with consent) so nothing depends on memory later.
7. Capture the Right Data While Testing
Note what happened, not just what the participant said afterward.
Log where they clicked, where they paused, where they backtracked, and any exact words they used to describe confusion, that phrasing is often more useful than a quantitative score when you’re prioritizing fixes.
8. Analyze Results and Prioritize Fixes
Group findings by severity, not by the order they happened.
A single participant getting briefly confused is a note; three participants failing the same task is a pattern that needs fixing before launch. Pairing usability testing with a structured heuristic evaluation can catch issues a single round of user testing might miss. Rank issues by how many users hit them and how badly each one blocks the core task.
How Brucira Found (and Fixed) Friction in a Festival App
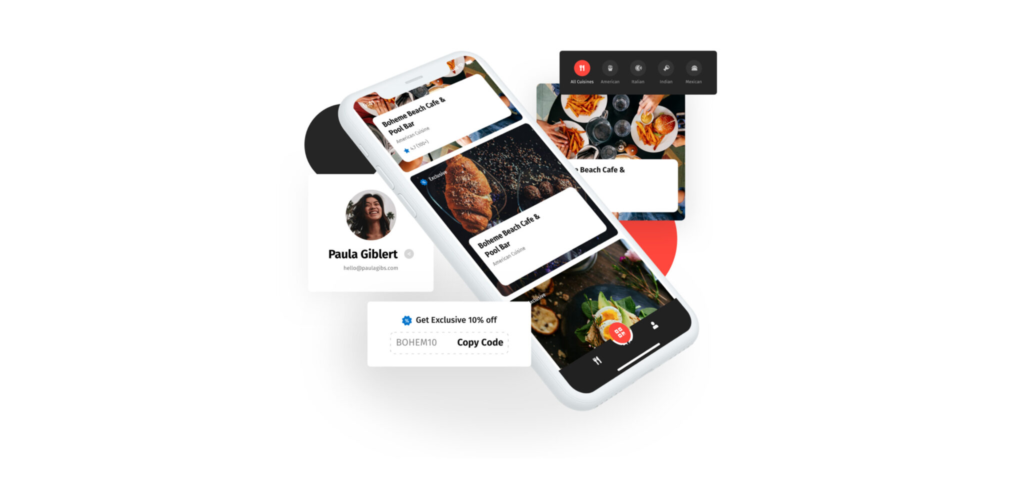
The World Food and Music Festival app had a search function and navigation that were creating friction for users trying to find what they needed.
Brucira redesigned the search flow, restructured the tab bar and added a profile section based on real usage patterns the same severity-first thinking this step describes. The result: over 2,000 discount redemptions a day during the festival.
9. Report Findings and Close the Loop
A usability test that ends in a slide deck nobody reads didn’t accomplish much.
Turn findings into a short, prioritized list the design and engineering teams can act on immediately, with a plan to re-test the highest-severity issues once fixes ship. Usability testing works best as a repeating loop, not a one-off checkbox.
Final Thoughts
Following a usability testing step by step guide doesn’t require a big budget or a dedicated research team it requires clear goals, the right participants, and a willingness to watch people struggle without jumping in to help.
Test early, test often, and let what you observe not what you assume shape the product.
Have a product or UX project that needs real user validation? Reach out to Brucira at hello@brucira.com. Explore more on the Brucira blog and see our full portfolio.
FAQs
Q1: What is usability testing?
Usability testing is a research method where real users attempt real tasks on a product while researchers observe. It reveals where people get confused, stuck or frustrated insight a stakeholder review or survey alone can’t surface. It’s the foundation of any usability testing step by step guide.
Q2: What are the most common usability testing methods?
The main usability testing methods are moderated (a facilitator guides the session live, remote or in-person) and unmoderated (participants complete tasks independently). Moderated testing surfaces deeper “why” insights; unmoderated testing scales faster for simpler questions. Brucira selects the method based on what the product question actually requires.
Q3: What’s the difference between functional testing vs usability testing?
Functional testing vs usability testing is a common point of confusion. Functional testing checks whether a feature technically works does it do what it was built to do? Usability testing checks whether a real person can find, understand and complete a task using that feature without help.
Q4: How many participants do you need for usability testing?
Five to eight participants per round is usually enough to surface the majority of usability issues, especially when testing a single well-defined flow. Larger or more diverse user bases may need a couple of extra rounds across different segments.
Q5: How often should usability testing happen?
Usability testing works best as a recurring habit, not a one-time event ideally at key milestones (concept, prototype, pre-launch) and again after major feature releases.
Need help planning and running usability testing for your product? Contact Brucira to explore UX research and product design support.